How To: Make Your Own Cookie and Cake Stencils
Cat not required.
I have a confession to make: I'm kind of messy. In life, and in the kitchen, I try to keep things neat and organized, but somewhere along the way, I let something slide, and from there an avalanche of mess always seems to follow.
And the same is true of the food I make. I do my best to make things looks appealing, as the saying goes, "you eat with your eyes first", but I've never been one for perfectly iced sugar cookies and intricate fondant-covered cakes. I tell myself I prefer a more rustic look, but truthfully I just don't have the artistic skill or the steady hand for chocolate lace or sugar-spun centerpieces.
So if I can find a way to make things look pretty with minimum skill required, I'm all for it. What this all leading up to is: stencils. Oh yes, I can work with that. Stencils are the great equalizer. Without any artistic skill whatsoever, you can pop a stencil on top of a cookie or cake, dust with a little powdered sugar or cocoa powder, and you've got a beautiful presentation with little to no mess.
And while you can buy plenty of stencils for just this purpose, making your own is also easy enough if you have access to a printer and an X-acto knife. Well, maybe a few other things:
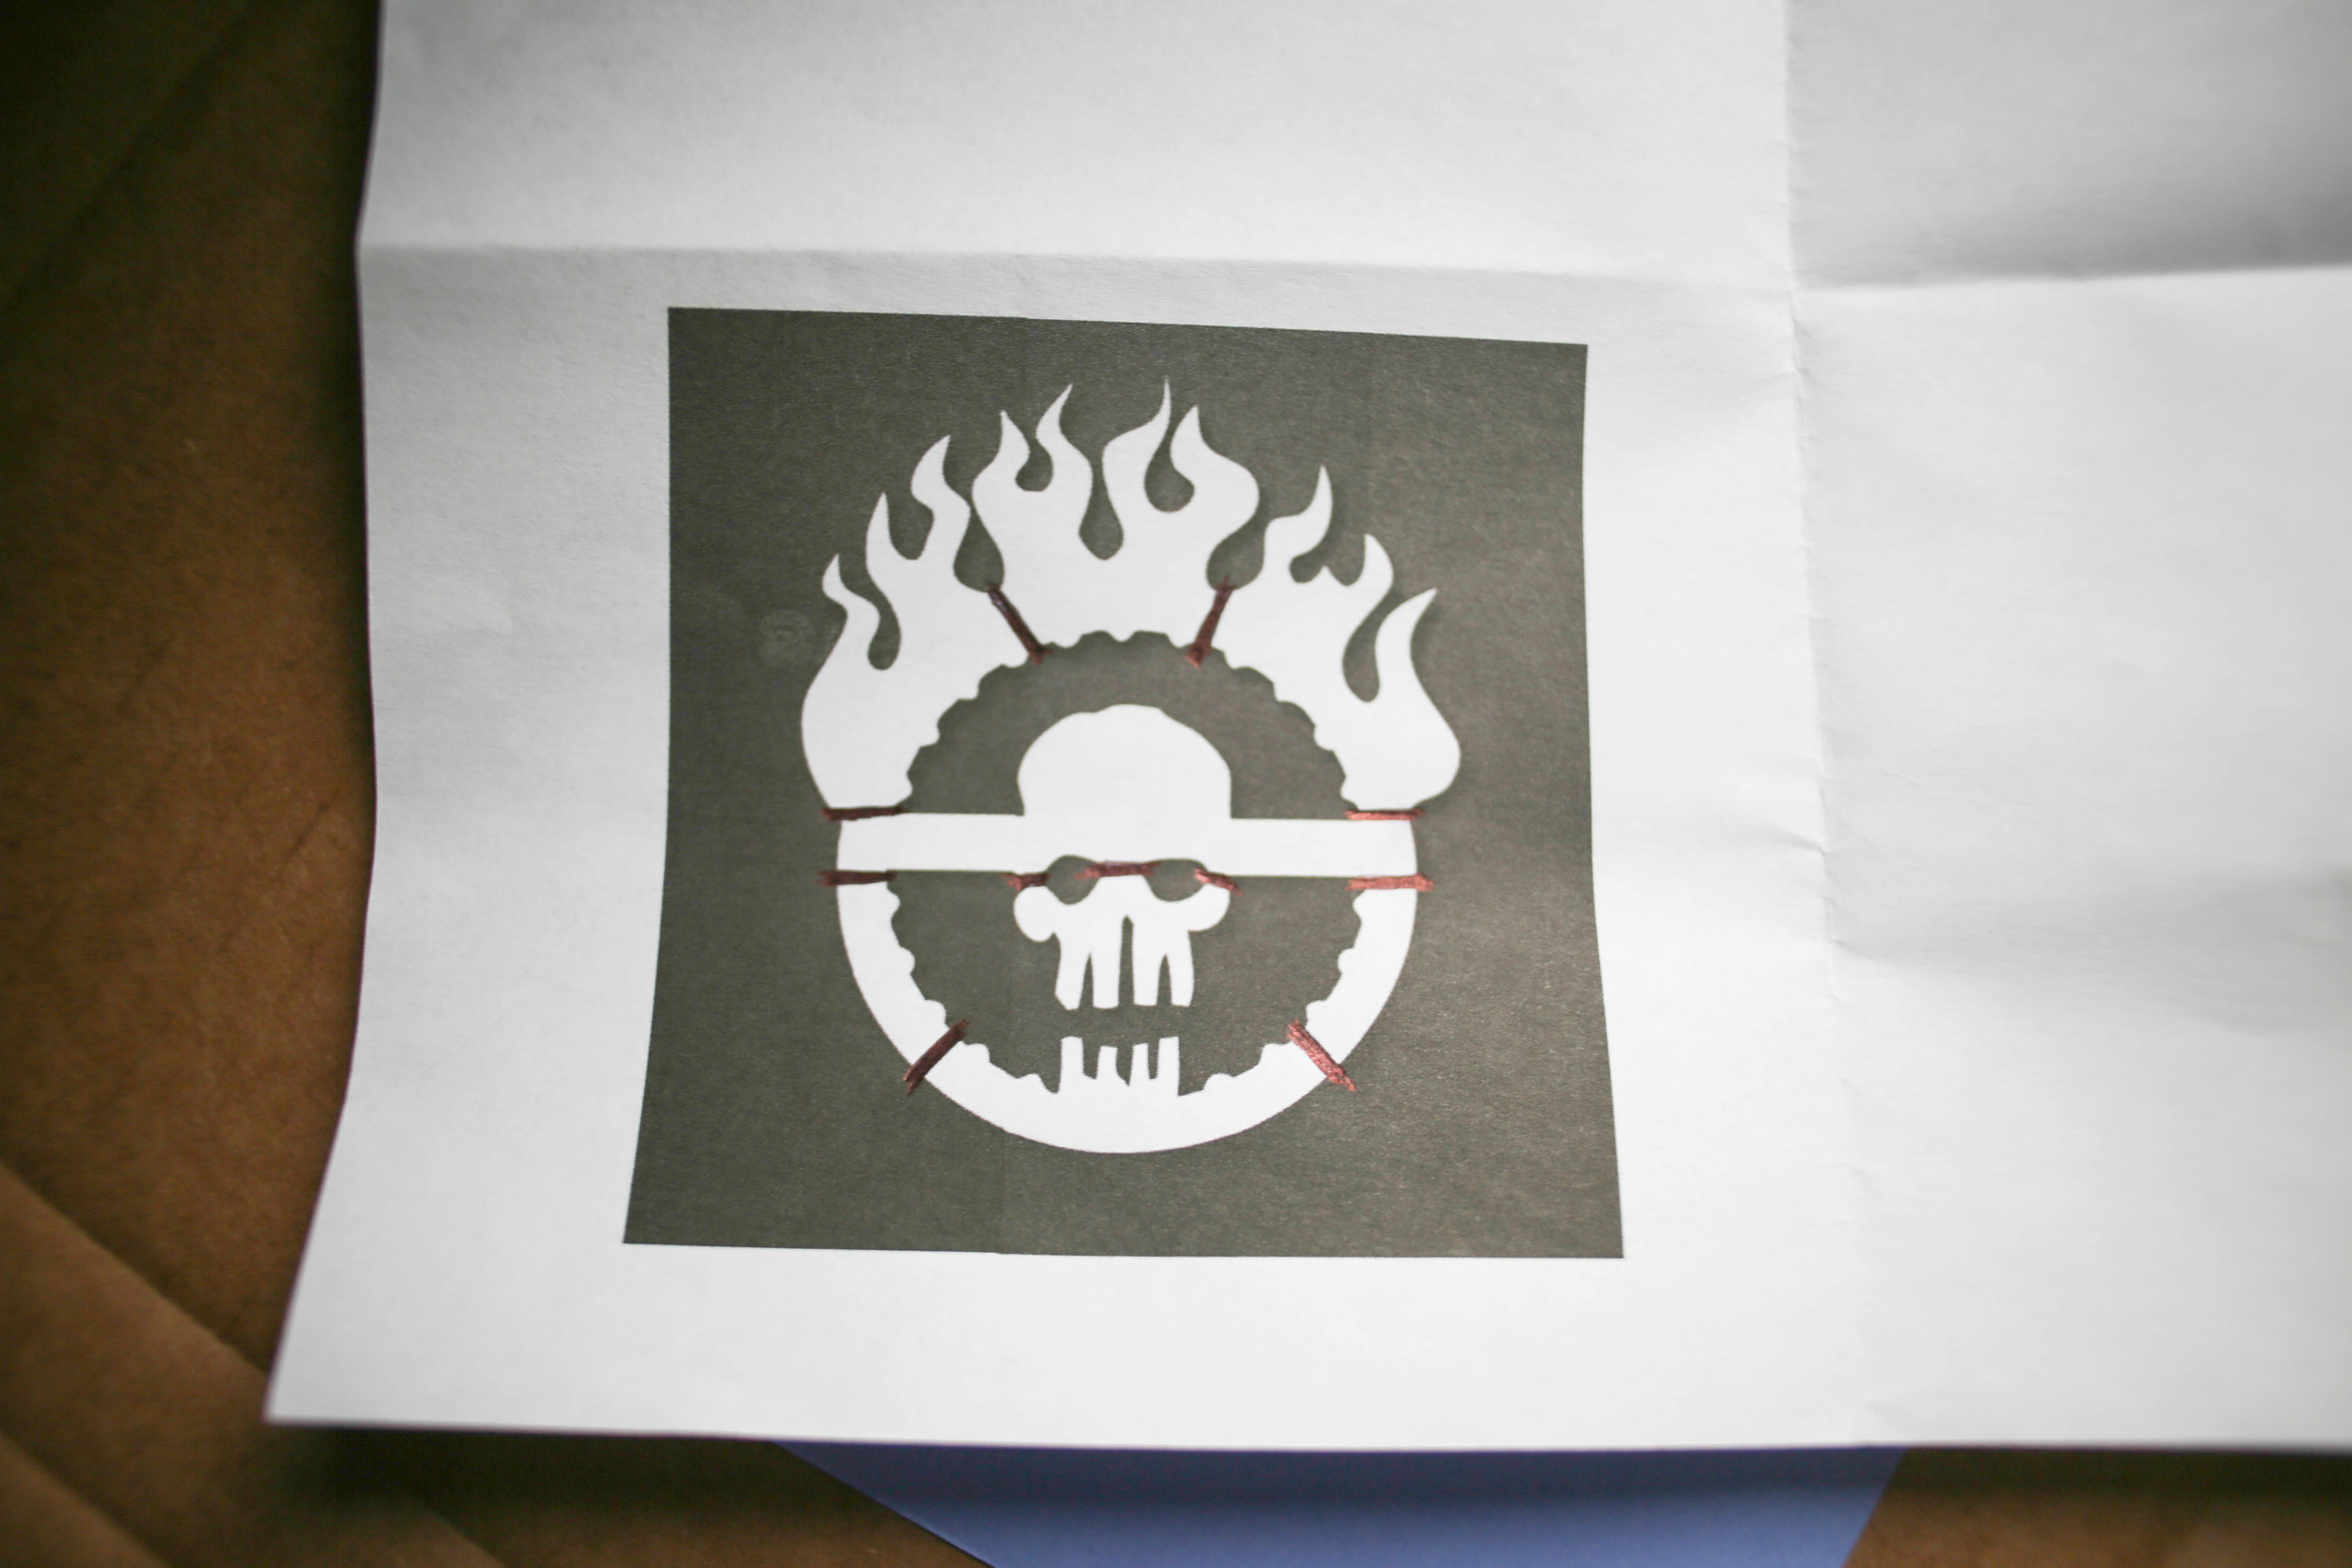
First, you'll need an image - something fairly simple, remember, not only do you have to cut it out, you'll have to be able to distinguish what it is in sugar form. Alter it if you need to so that it will work in stencil form - make sure all of the pieces left from what you cut out are connected. I was cutting out the white in my image, so I had to make sure the black parts were all connected.
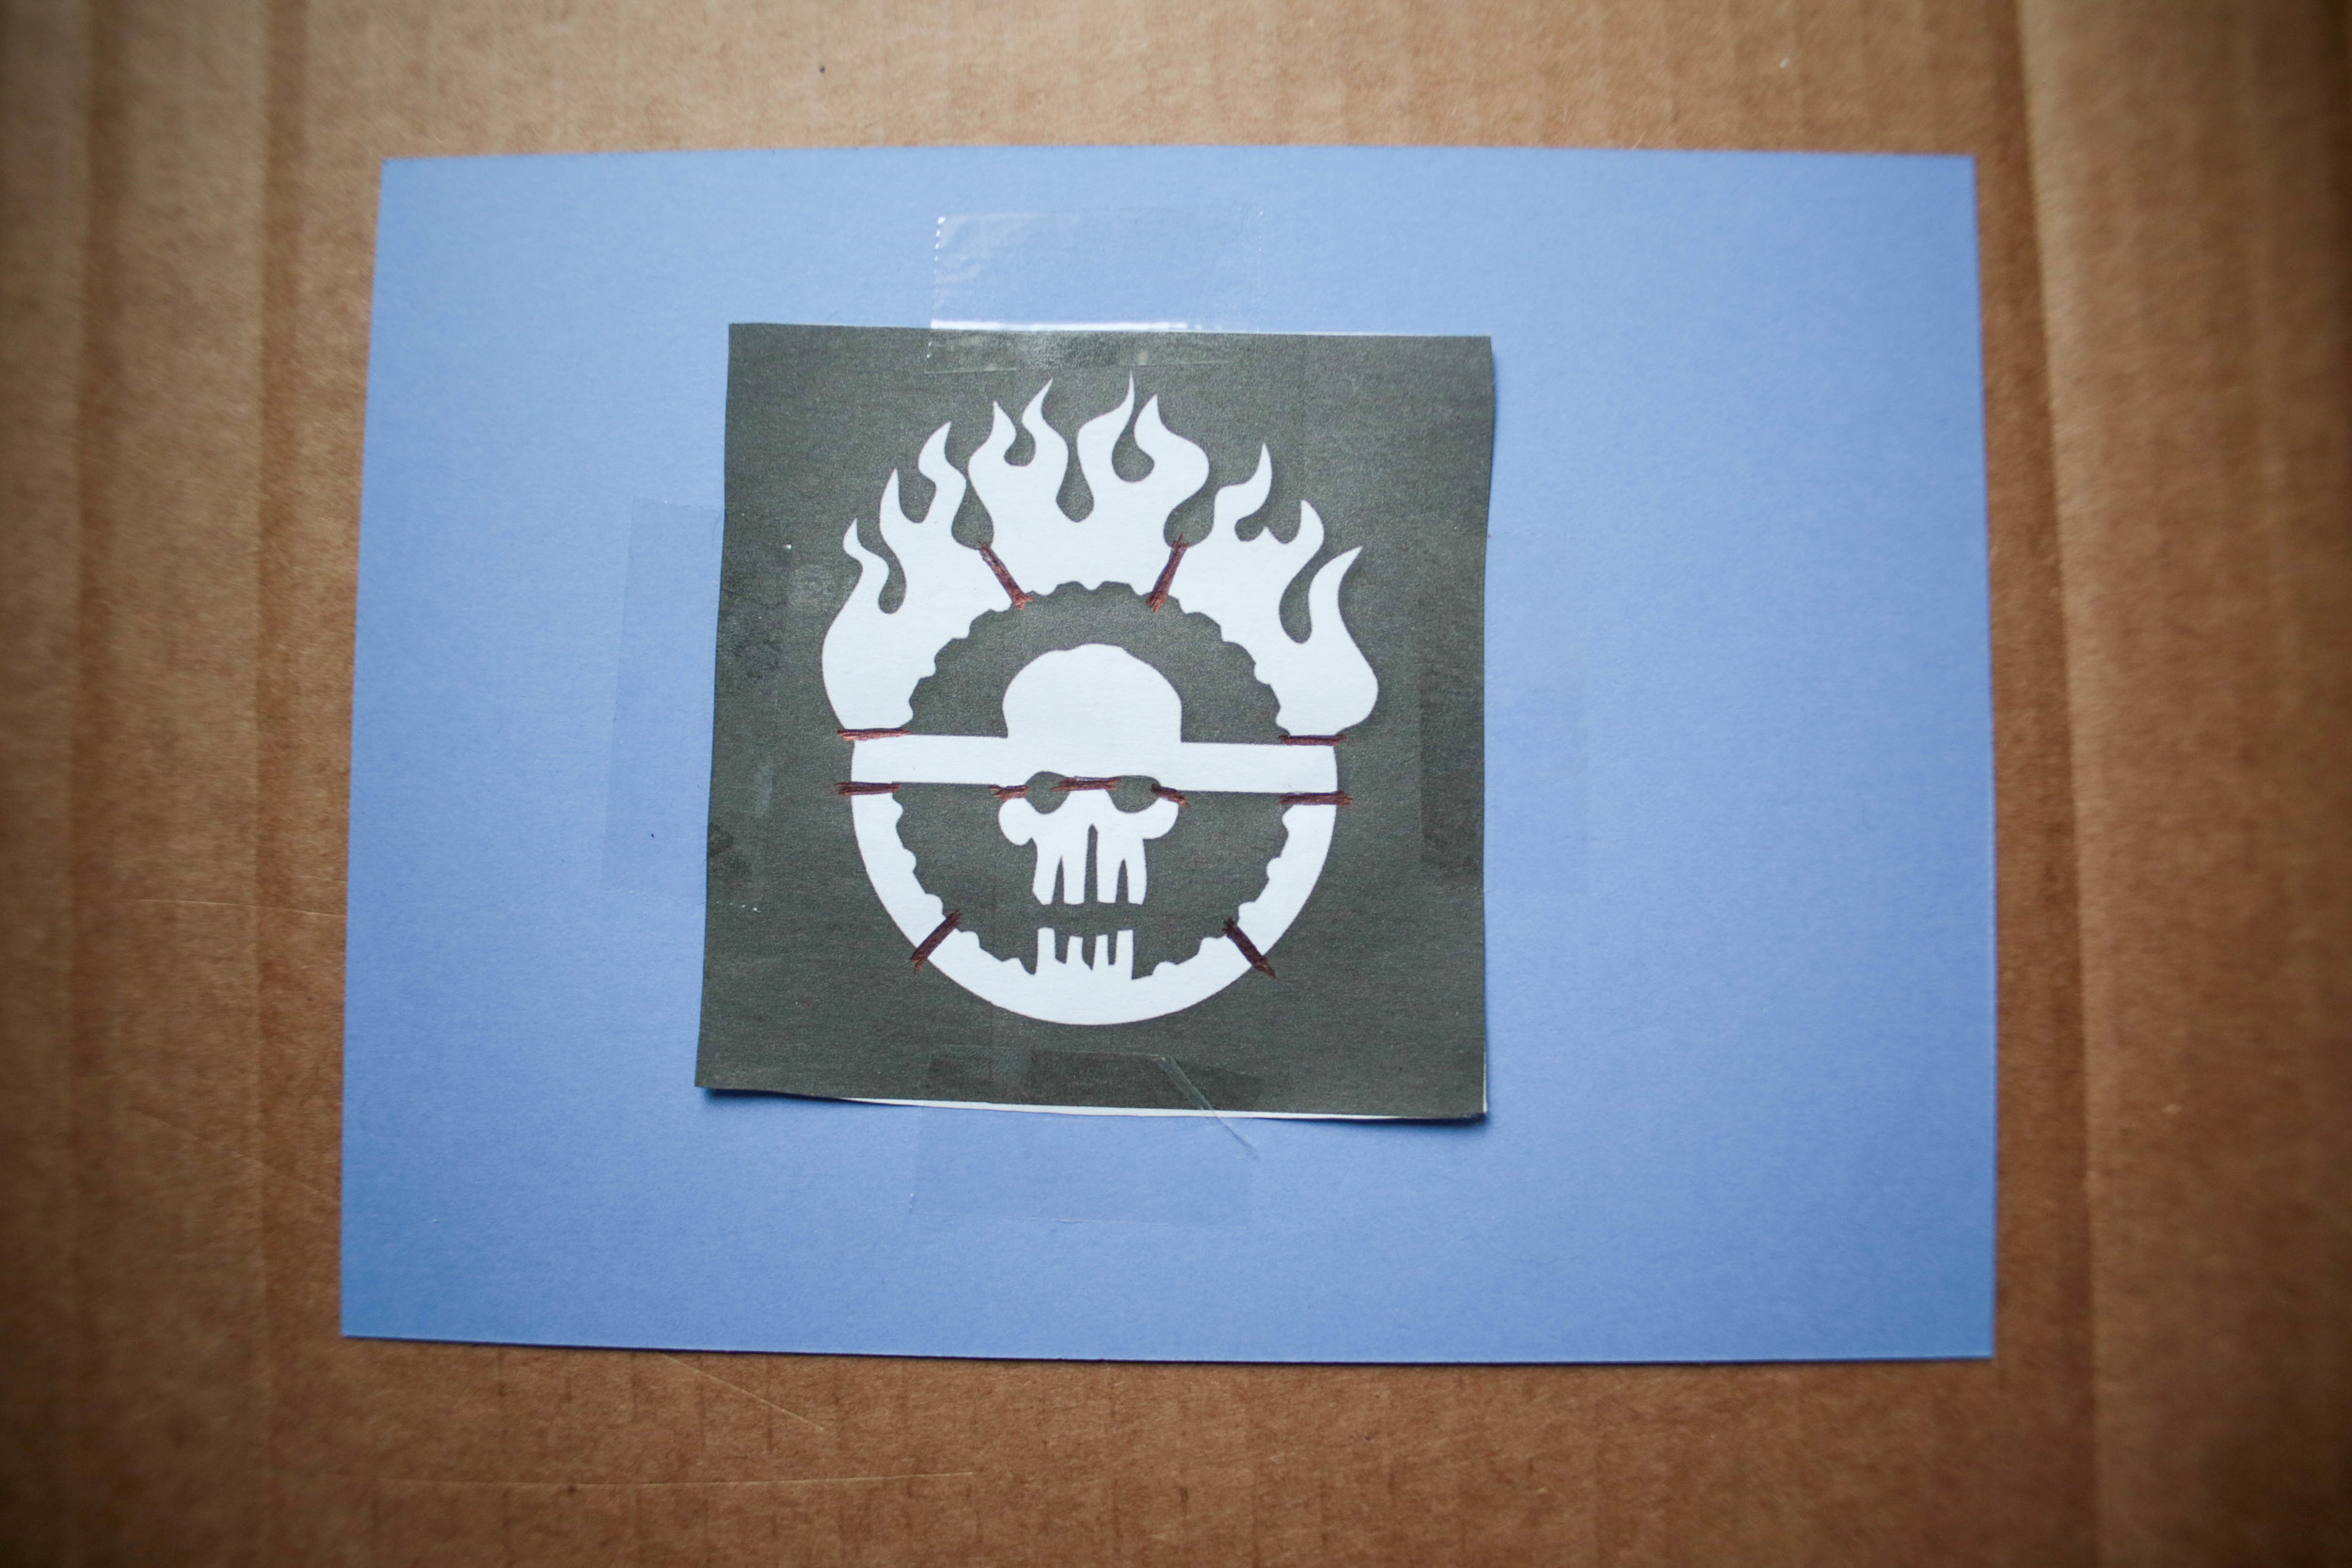
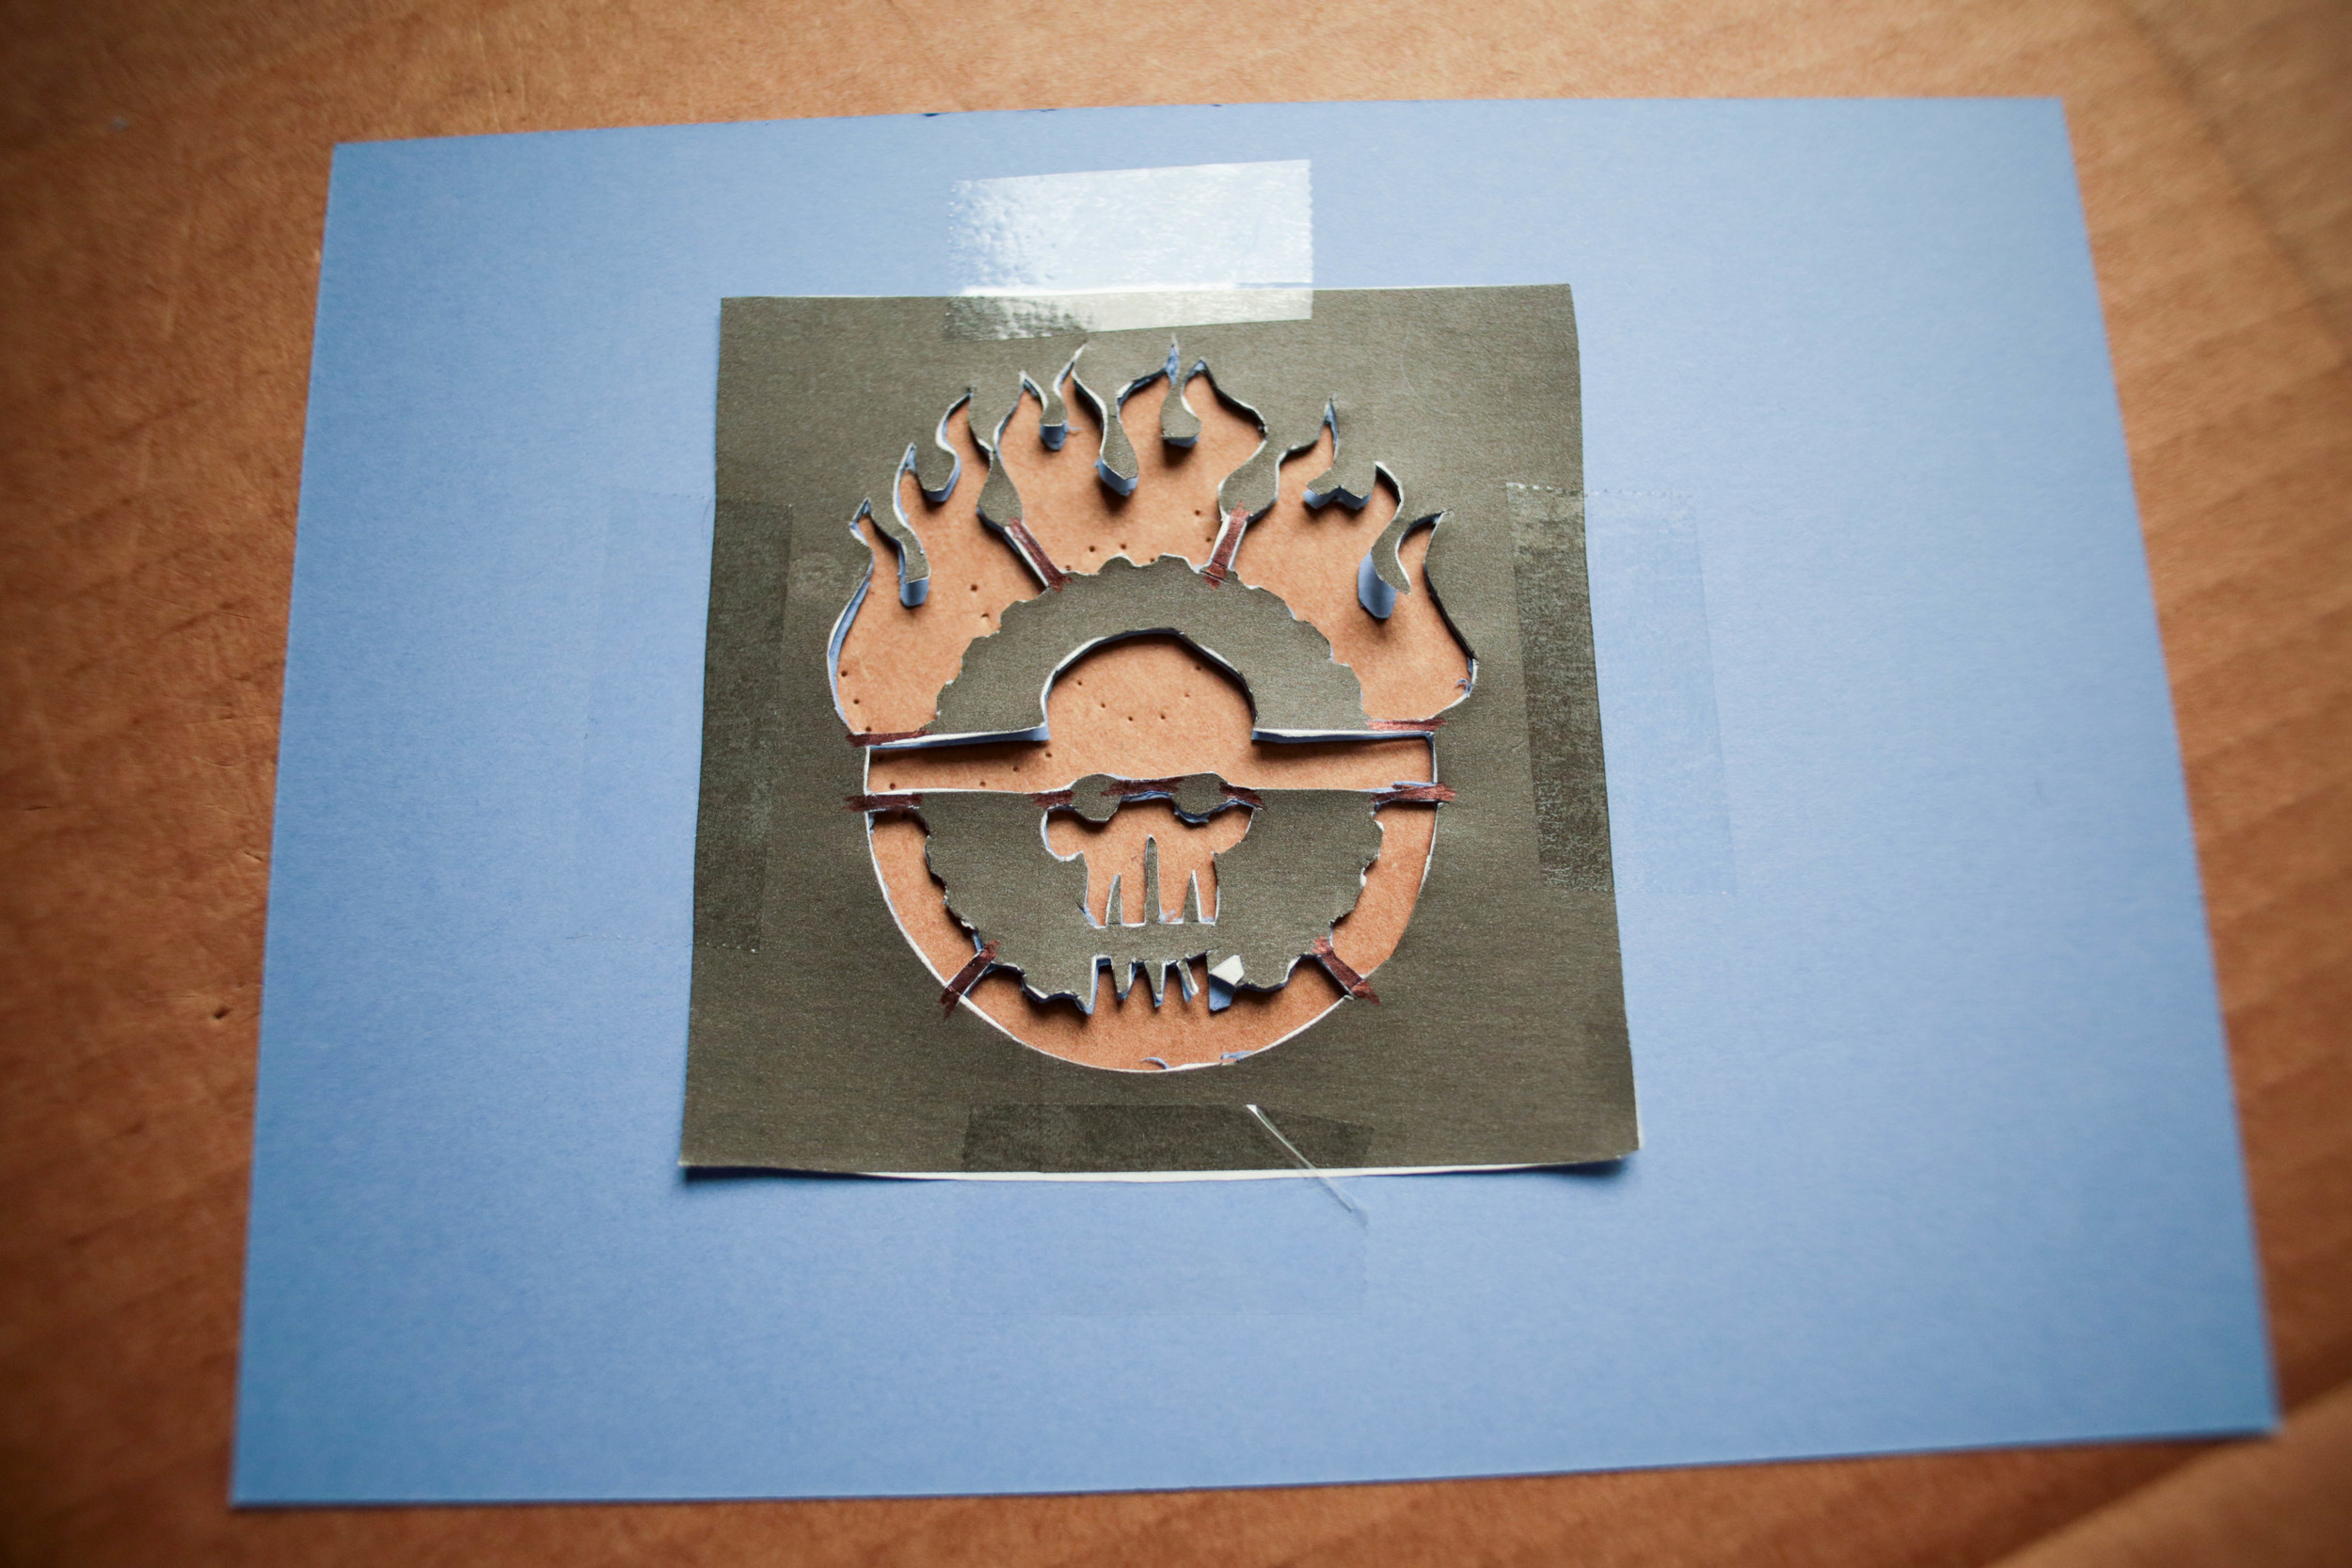
From there, I taped the image to a piece of cardstock. This isn't strictly necessary, but I like to make it in something a bit more durable than paper. Then, use some cardboard as a work mat and start cutting out your image.


Now that you've got your stencil, go make something pretty. To see what I did with this one, check it out here.

