Recipe: Hocus Pocus S'mores
Today's post comes from Tiffany, Disnerd Extraordinaire, and just in time for Halloween! You can follow her on instagram at followtheyellowbrickgirl.
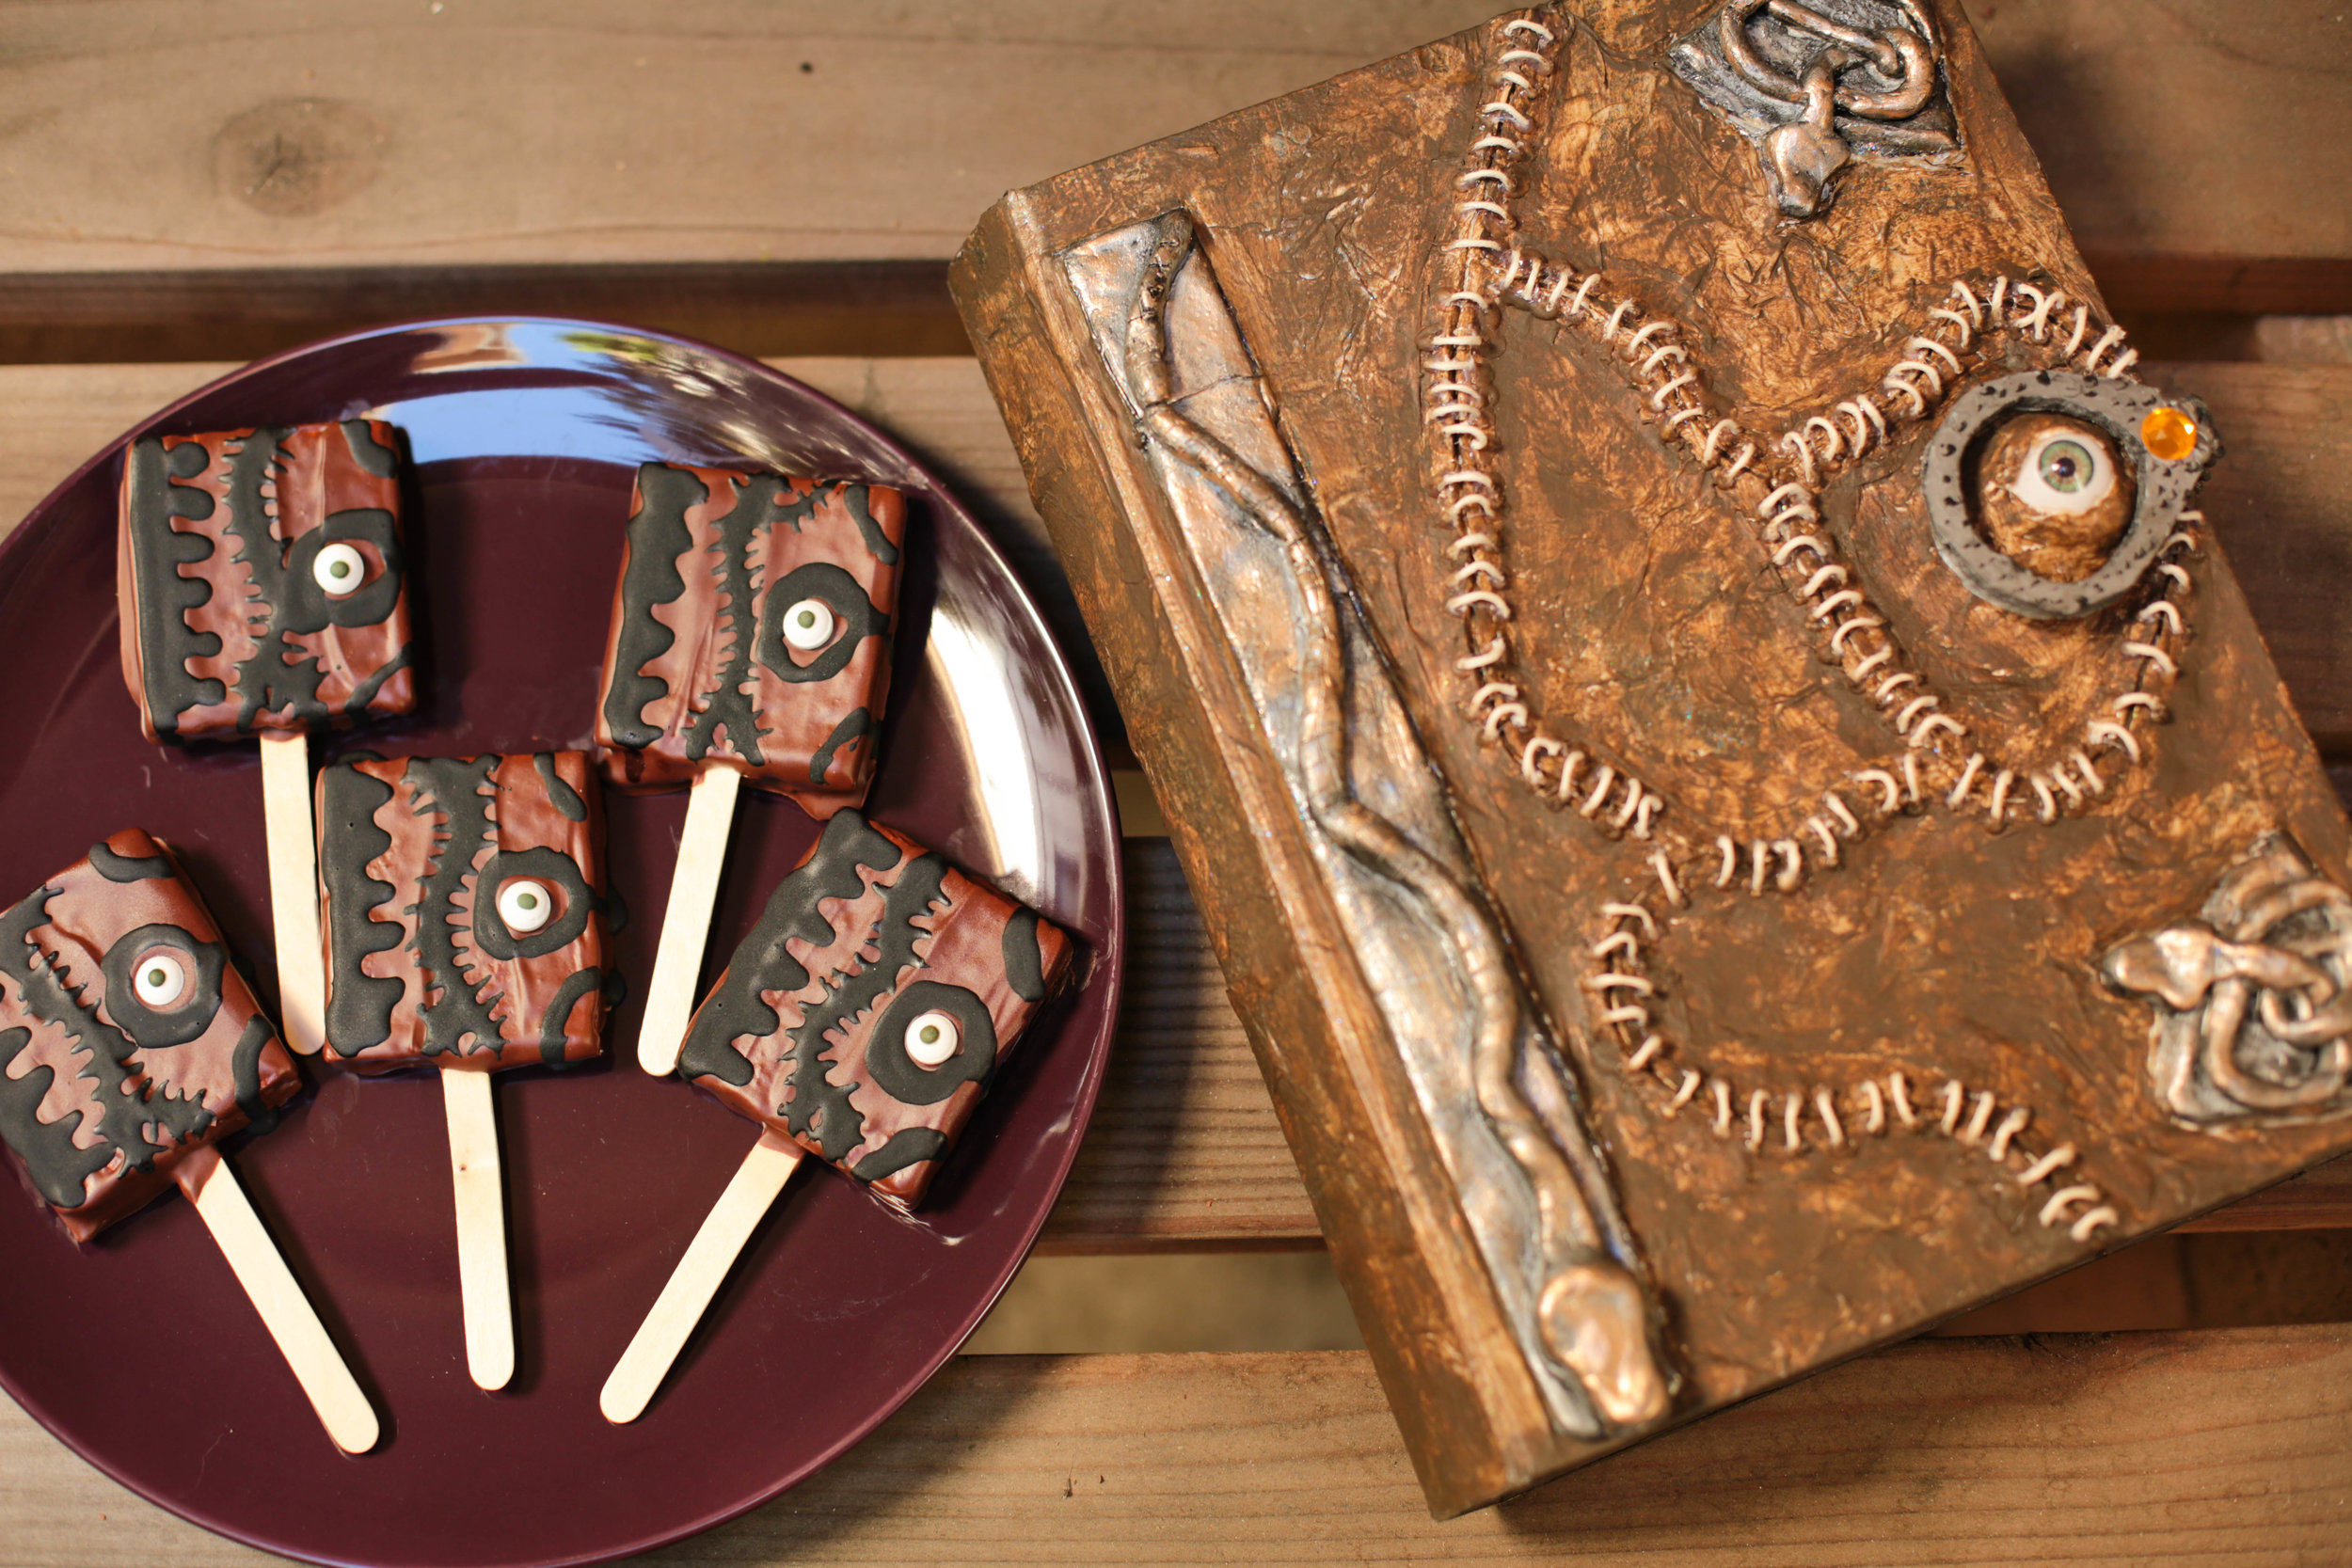
Halloween is right around the corner and it is a time when people are out running “amok, amok, amok!” Anyone who knows me knows I have a strong love for Disney, so it’s definitely no surprise that my favorite Halloween movie of all time is Hocus Pocus. Who doesn’t love wonderfully wacky 17th century witches running around Salem in the 90s? I’m sure I’m not alone when I say Bette Midler, Sarah Jessica Parker, and Kathy Najimy put a spell on me the first time I saw this movie as a kid. What better way to celebrate Halloween than by making these amazing smores pops that look just like Winifred Sanderson’s book of spells?! I found this recipe from Delish and I got to work right away making these simple, yet impressive looking pops.

Hocus Pocus S'mores Pops

12 graham crackers broken in half
Marshmallow fluff
2 cups semi-sweet chocolate chips
2 tbsp. coconut oil
Candy eyes
Bottle of squeezable black cookie frosting
To start, you carefully break the graham crackers in half and then you spread marshmallow fluff on one side of a cracker. Place a popsicle stick in the middle of the cracker, cover the top of the stick with a small amount of fluff and put the other half of the graham cracker on top. To melt the chocolate chips, you can either make your own homemade double boiler using a glass bowl and a pot, or use a melting pot. I have a candy melts melting pot and it works perfectly. Regardless of which method you use, add a bit of coconut oil to the chocolate once it’s melted to keep the chocolate smooth.
While you are melting the chocolate, put the graham crackers in the freezer so that the sticks will hold in place for the next step. After about at least 15 minutes, take the pops out of the freezer and get ready for dipping. I used a small rubber spatula to spread the chocolate easily over the entire graham cracker. Place each dipped pop on parchment or wax paper on a baking sheet. Next place the eyes on each book and then let put the pops in the refrigerator for at least 30 minutes or until the chocolate has hardened.
Once the chocolate has hardened, you are ready for the last step, decorating the book! This was my first time working with this particular cookie icing, and initially found it hard to add the details on the book. The icing tends to run out of the bottle quickly in large amounts. To fix this problem, I put the icing in the refrigerator an hour before I started making the pops. This made the icing more manageable to work with. Even though the icing was still a bit runny, the cold minimized the amount of icing flowing from the bottle. For the design you draw some zigzags to represent the binding of the book. Draw a circle around the eye and then draw a curvy line from the top to the bottom in the middle of the pop and use a toothpick to spread icing through that line to represent the stitches. Once you have done this your pops are ready for eating! I usually stick my pops back in the refrigerator for a bit to harden them completely before I eat them, but it’s your choice.
Now you are ready to suck the lives out of all the children in Salem. BOOOOOOK!